


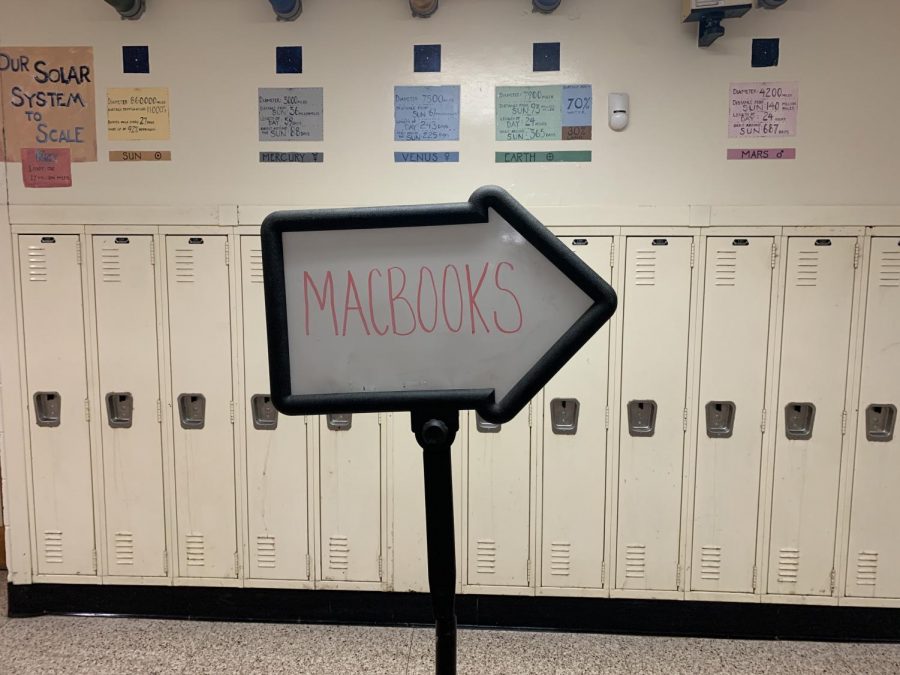
Goodbye Chromebooks, Hello MacBooks!
Some Tech Tips to Help with the Transition
August 24, 2021
Transitioning from middle school to high school can be daunting in many ways. While there are many universal challenges students have to face such as switching physical schools or handling more school work, Edison students also have to transition the technology they use throughout the school year.
Instead of Chromebooks, high school students received the MacBook Air in previous years. This year, students will be receiving a MacBook Air yet again, however this time with an M1 processor chip. While it is difficult to touch upon the details of the new MacBooks in one’s first introduction, students can better adapt to these new devices by hearing about prior student experiences with the MacBooks.
Jayesh Chaurasia ‘23, editor-in-chief of the tech department for the all-digital Eagle’s Eye, said, “Changing from a Chromebook to a MacBook can be overwhelming but exciting at the same time. When you receive your MacBooks, the best thing to do would be to utilize them as much as possible.”
With this new technology it is important to keep in mind that it is possible seek out help whenever issues arise with the MacBooks. If your MacBook needs repair, be sure to put in a help ticket using the IncidentIQ app on the toolbar or in the Launchpad.
With the changes in the user interface between Chromebook and MacBook, there are different ways to go around completing daily tasks within your Apple device. Here are some of the common features to ease the transition from Chromebooks to MacBooks:
- Spotlight for Searching – The Mac interface allows you to utilize their search interface to find files and applications, just use Command + Space. Spotlight can help not only locate files but answer basic questions as well.
- Swap Between Apps – Swipe with three fingers right or left will allow you to switch between windows and applications. Additionally, you can swipe up with three fingers to fully view all your applications and windows.
- Self-Service – There are several apps like Spotify that are able to be downloaded through the Self-Service App. The Username and Password are your School ID and school password.
- Video Screenshots – Shift + Command + 3 takes a screenshot, Shift + Command + 4 lets you select a specific portion of the screen to screenshot, but Shift + Command + 5, a lesser known option, brings up an interface that lets you record your screen or a portion of your screen.
- Cleaner Screenshots – When using Shift + Command + 4 to select an area of the screen, if you press the spacebar, the icon turns to a camera. From there, you can click on any open window to get a screenshot of just that window or interface element like dock or menu bar.
- Control Center – You can find the control center at the top right, next to the date and time. Here you will find settings regarding the WiFi, Bluetooth, Brightness, Dark Mode, Notification Settings, Volume, and more, all in one place.
- Force Quit -If an app is not working and you can’t close it normally, click the apple logo in the top left and then “Force Quit” to close it.
- Widgets – Click on the date and time in the top right, then scroll down to “Edit Widgets” to create a customized screen with information like the time, news, and events on your calendar. You can use the calendar app to keep track of when assignments are due or when you have a test, and you will be able to see it with just one click!
There are many benefits to the MacBooks as well. They are substantially lighter and more compact, which can make carrying them around the school more convenient. Also, students have access to editing platforms such as iMovie and Adobe Premiere, which can be helpful when working on more intricate school projects.
In addition, the MacBook screen is larger and brighter than the Chromebooks, making the process of getting work done more efficient. This year’s new models have extended battery life, but charge them at night anyway—there are limited outlets in classrooms. For students who appreciate customization, MacBooks have many more case and keyboard cover options. Appropriate stickers on cases are allowed as well.
“Try getting used to all aspects of the MacBook,” Chaurasia said, “by looking at all the features and getting yourself used to the device. Understanding the MacBook would be helpful during the beginning of the school year as you can focus on class rather than trying to fix or understand a feature.”
This article is a republish of the original version released on August 24, 2021.