


A cool fall breeze whips around the leaves, carrying the scent of crisp air through the neighborhood. Wrapped in a light sweater and cozy scarf, you stroll past crunchy shades of vermillion falling from the branches of the shivering trees, the road lined with rows of red, orange, and yellow.
You take a breath, taking in the satisfying, clean air. Walking through the leaves, the crunch is addicting. The freshly pressed foliage gives off an earthy scent, bringing back childhood memories of jumping into piles of leaves, immersing you with the contentment of life, knowing a warm apple pie sits on the kitchen counter, perfect for an afternoon snack.
The original crust recipe can be found here, and the apple pie recipe can be found here, thanks to Sally’s Baking Addiction.
Yield: 11 3-inch pies
-
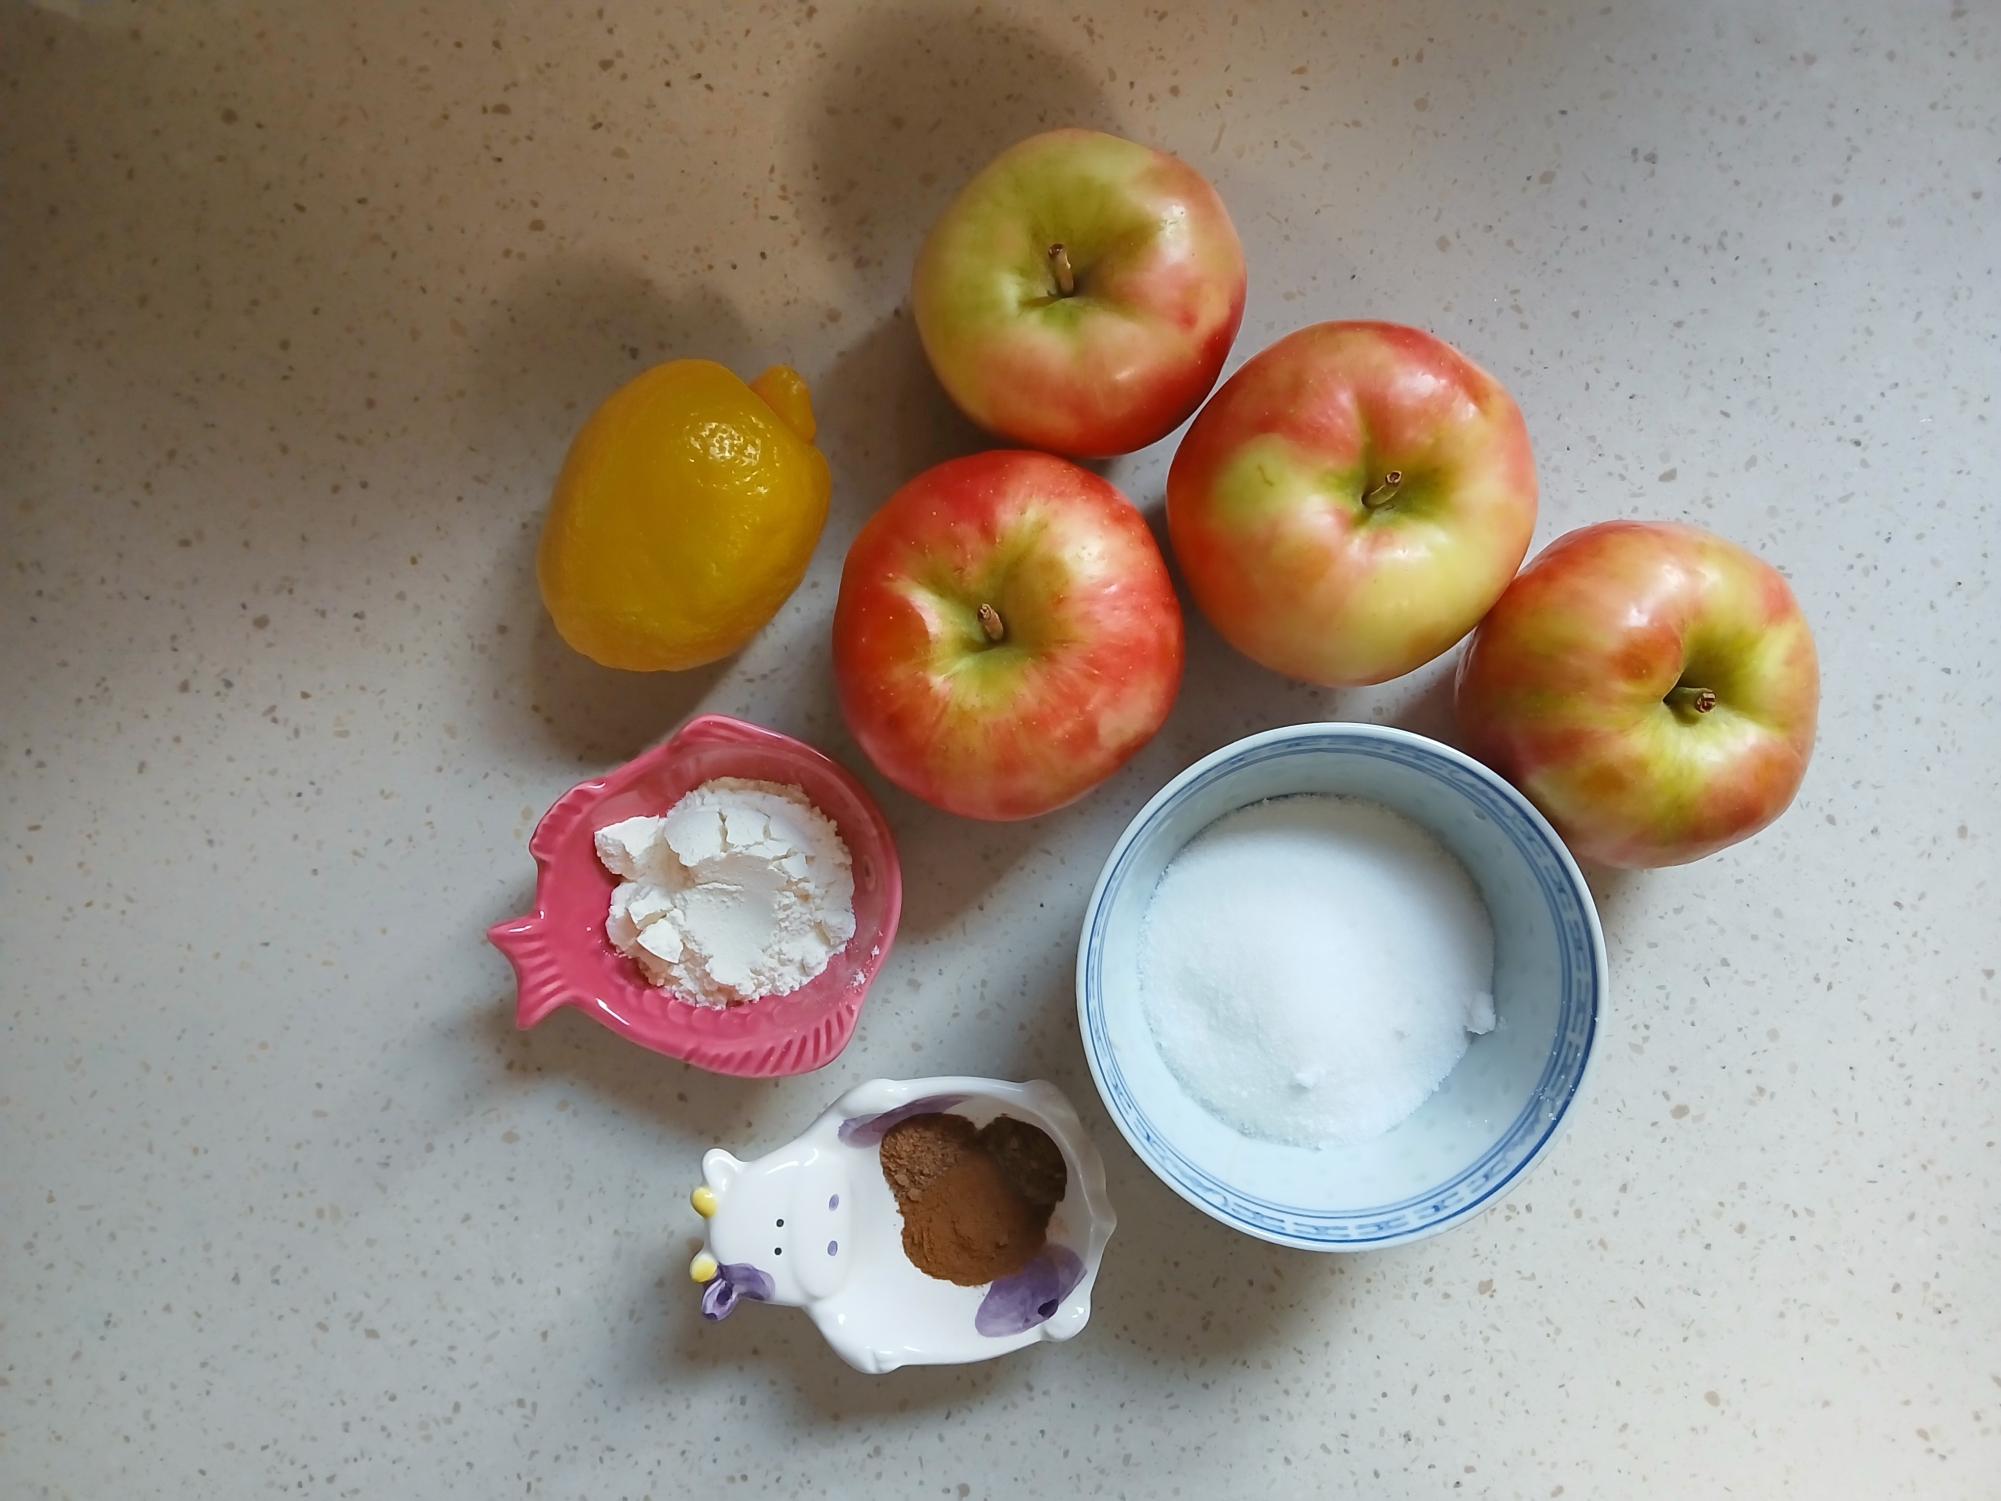
All the ingredients needed for the apple pie filling are as follows: apples, a lemon, sugar, flour, cinnamon, nutmeg, and allspice.
-
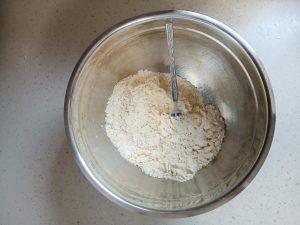
This is what the dry ingredients and butter should look like when combined: a course meal.

-
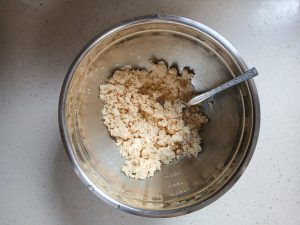
After adding the water, this is what the finished dough should look like before fully mixing the dough with your hands.

-
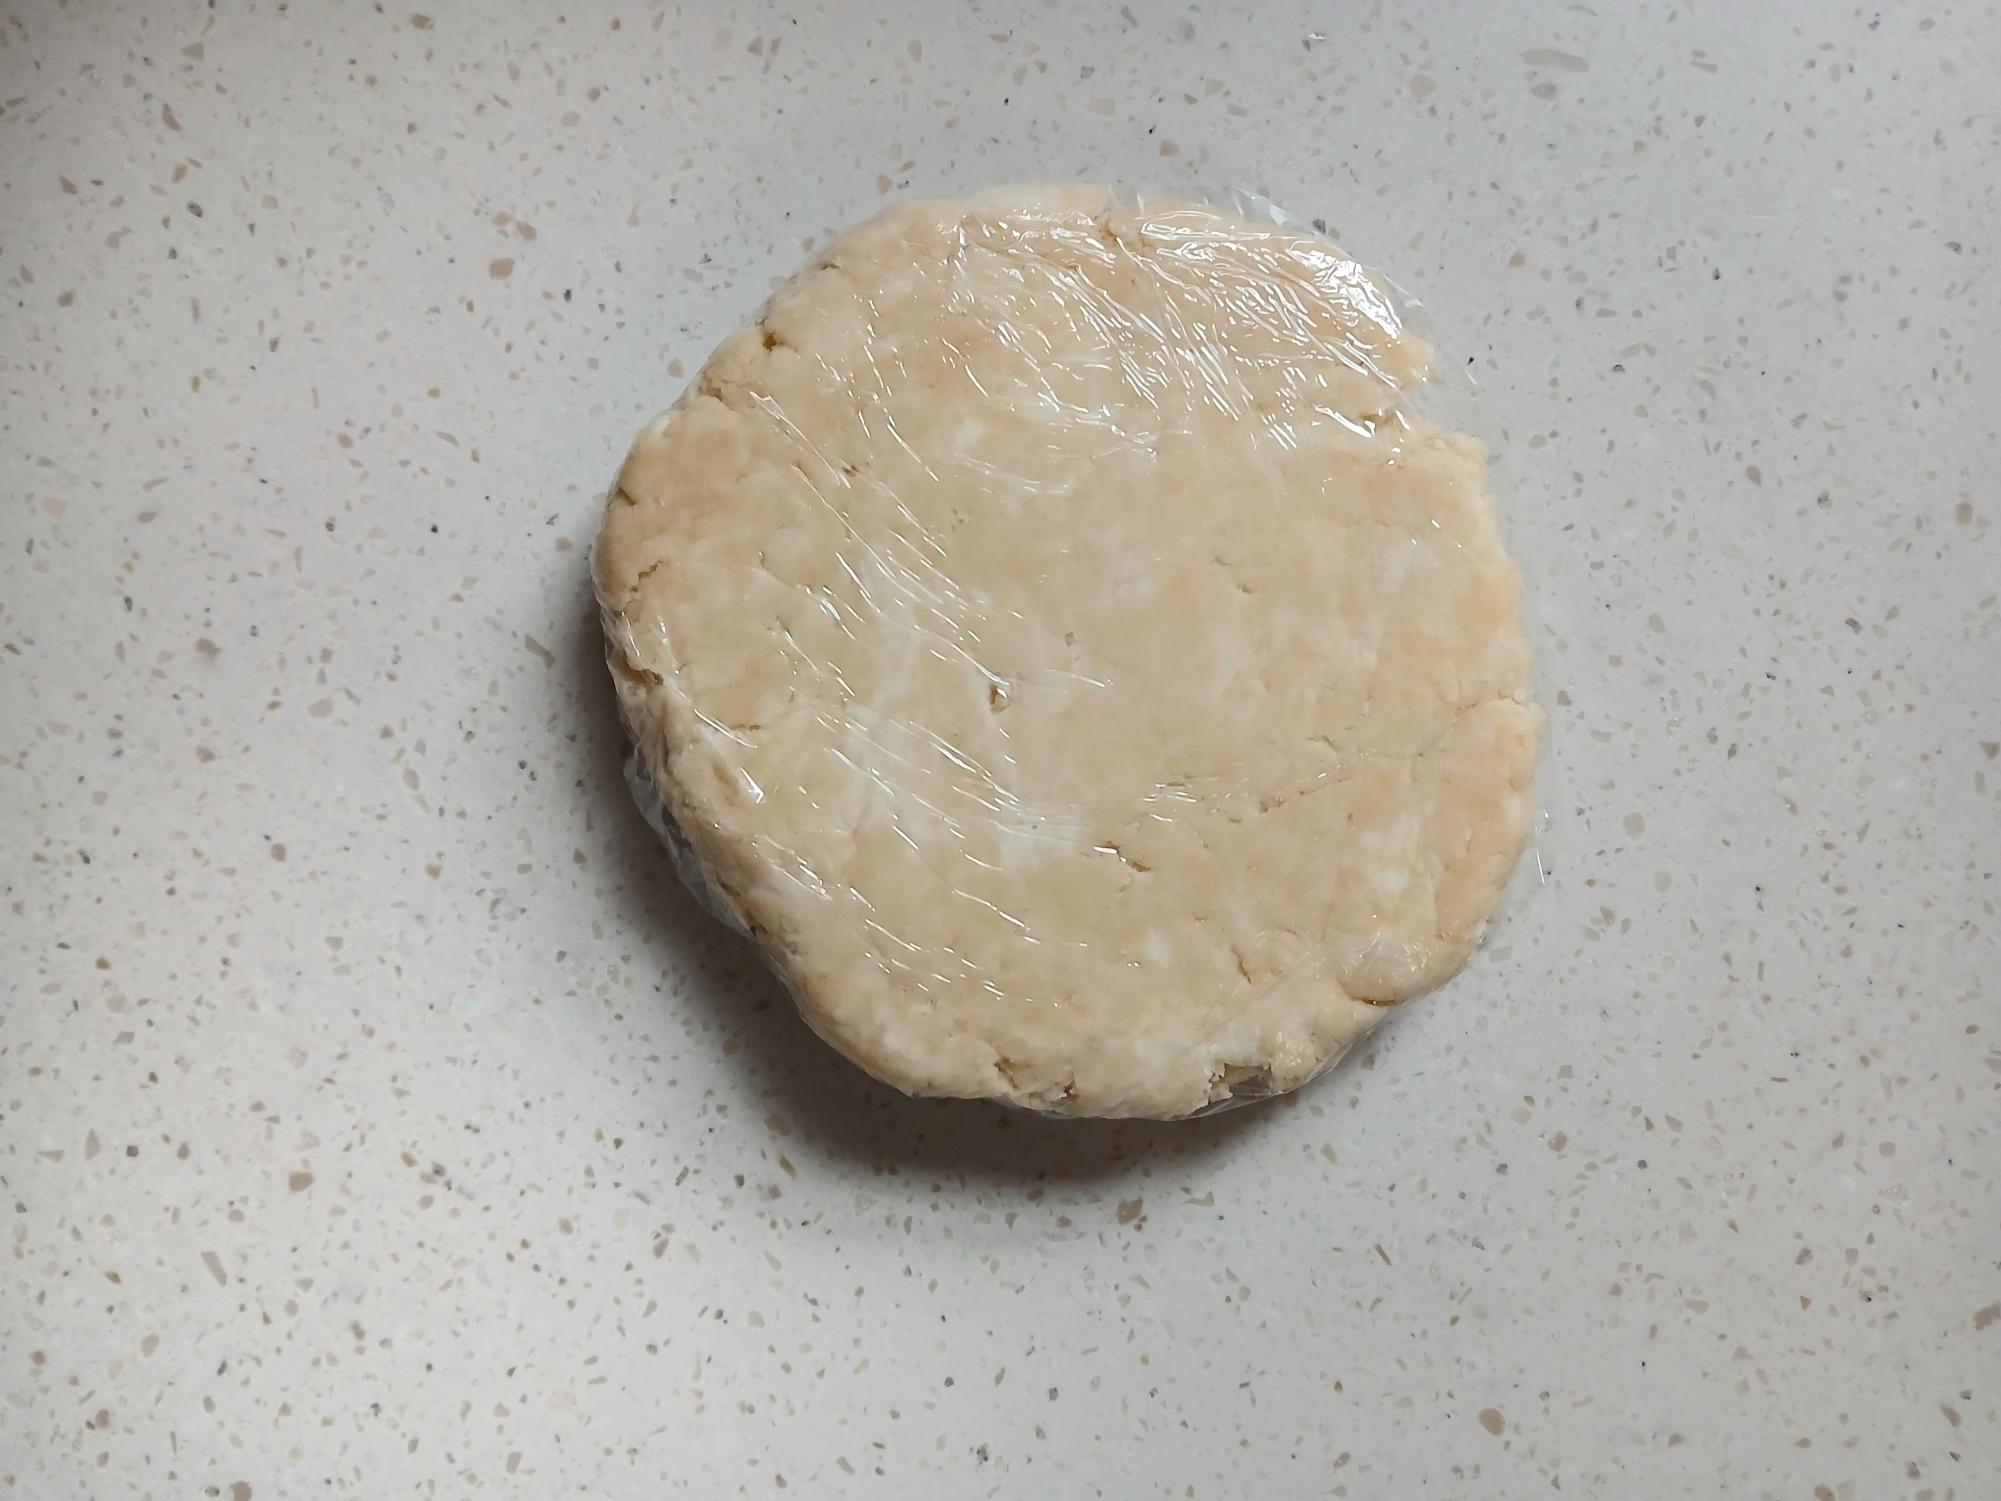
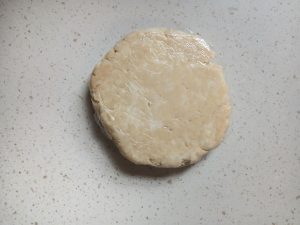
The disk of pie dough is ready to be chilled for 2 hours.
-
The freshly cooked apple pie filling is ready for use!

-
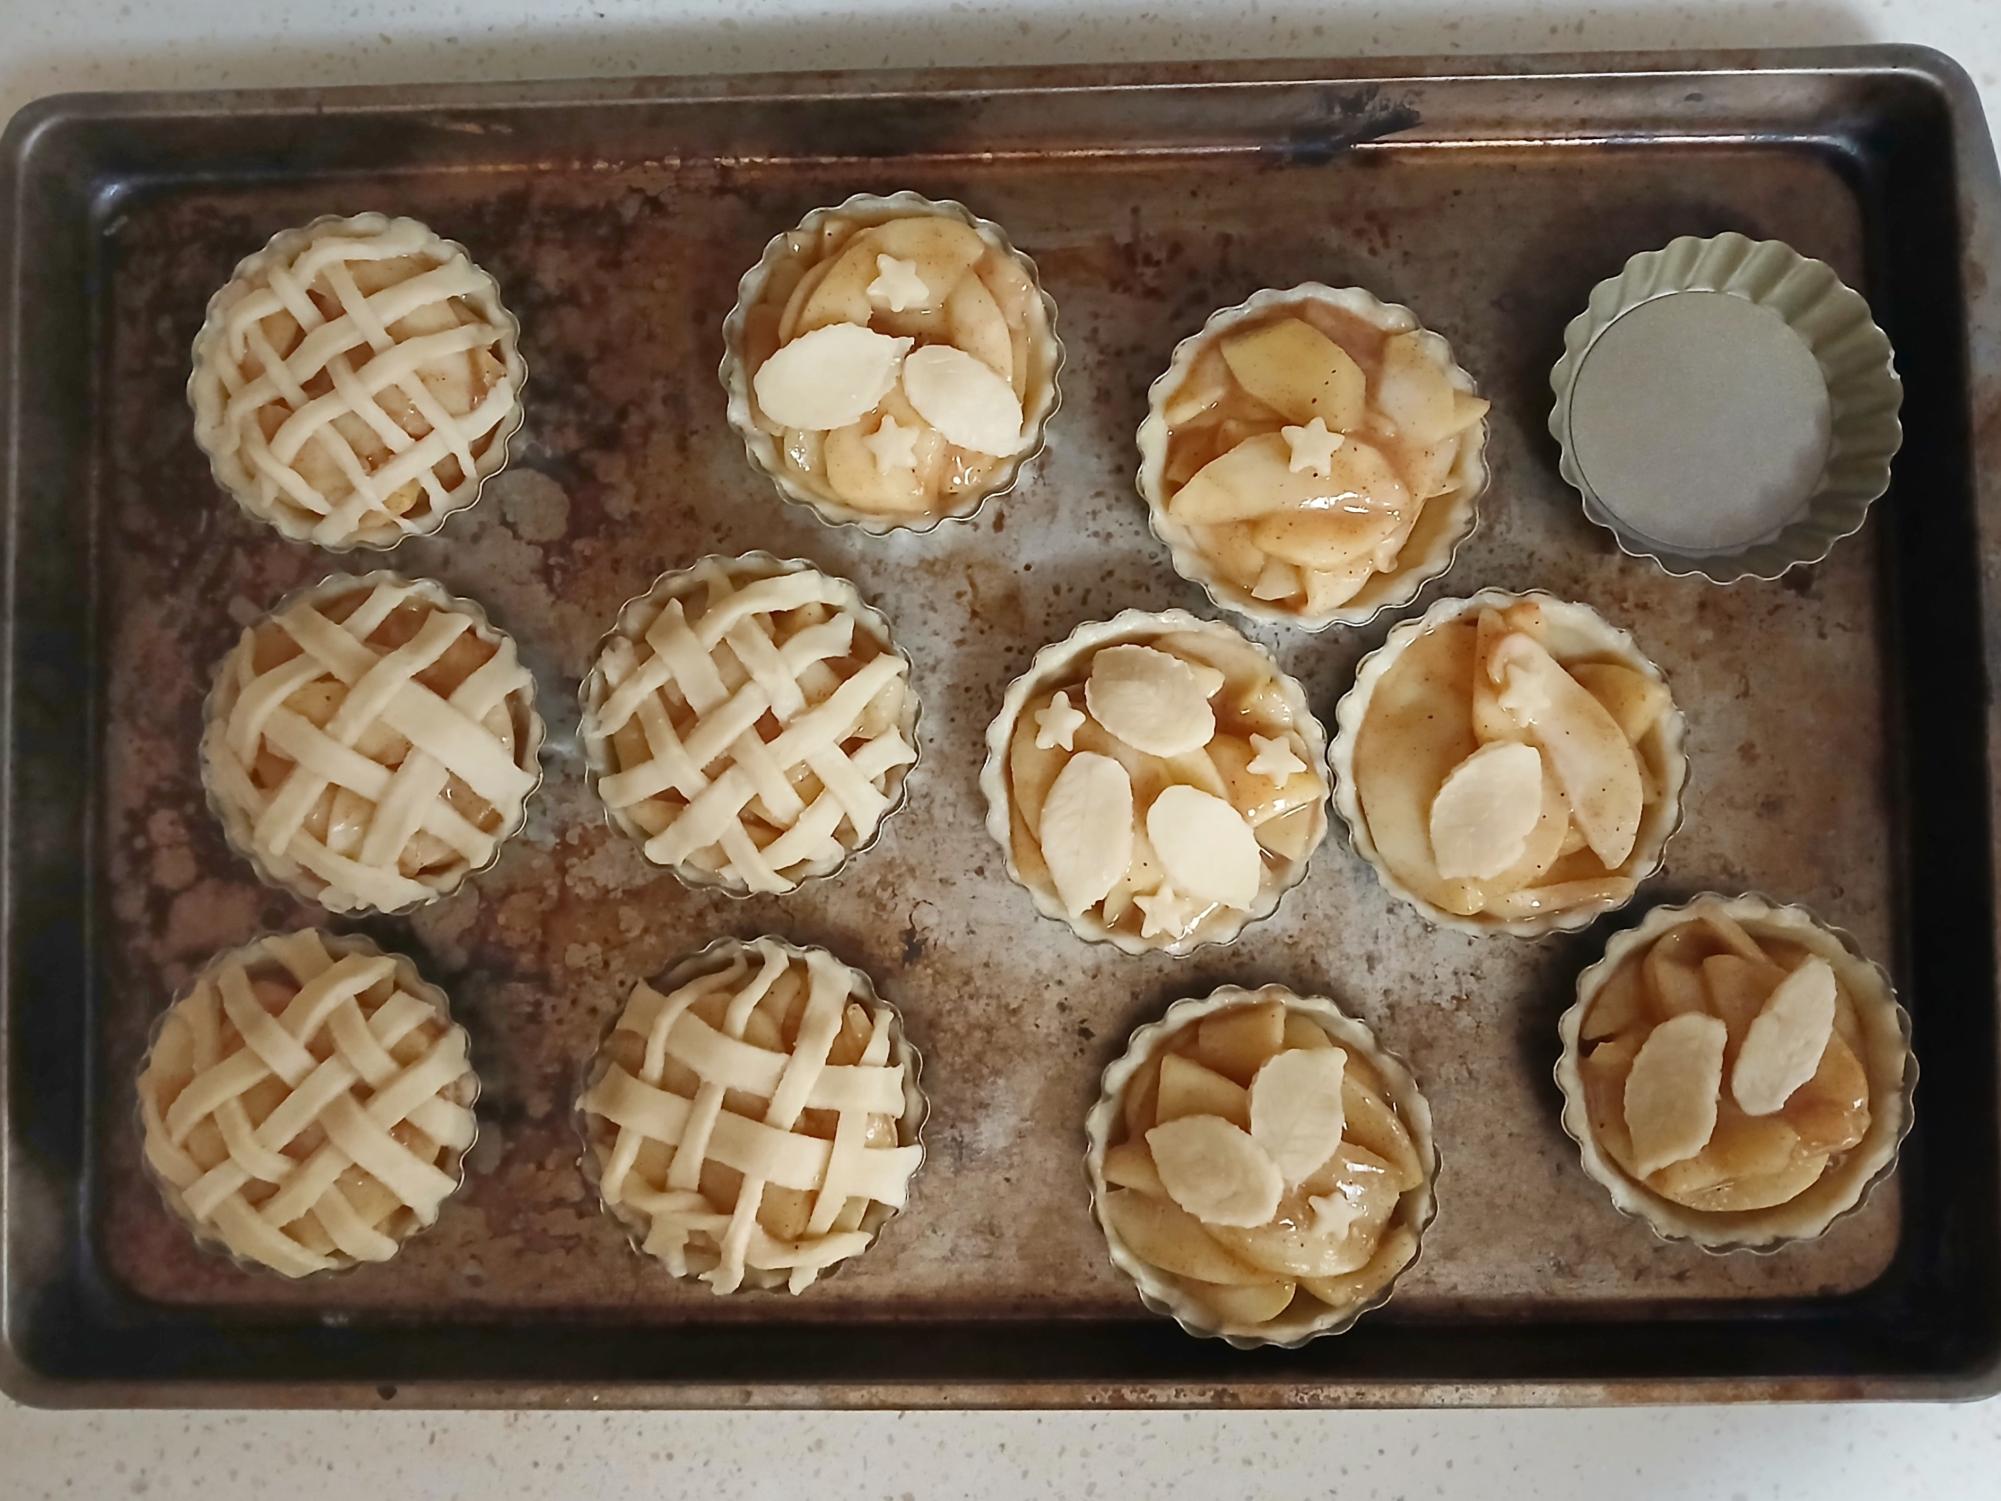
The mini pies ready to be baked!


Pie Crust Ingredients:
- 1 and ¼ cups all purpose flour (spooned & leveled)
- 1 teaspoon granulated sugar
- ½ teaspoon salt
- ½ cup unsalted butter, chilled and cubed
- ¼ cup ice water
Apple Pie Ingredients:
- Pie crust
- 5 cups ¼ inch thick apple slices (about 4 apples, peeled)
- ¼ cup granulated sugar
- 2 tablespoons all purpose flour
- ½ tablespoon lemon juice
- ¾ teaspoon ground cinnamon
- ½ teaspoon ground allspice
- ½ teaspoon ground nutmeg
- Egg wash
- 1 large beaten egg, 1 tablespoon milk
Step 1:
In a large bowl, whisk together the flour, salt, and sugar. Add the cold cubed butter on top, and with a fork or pastry cutter, mash the butter into the dry ingredients until the mixture looks like a coarse meal. The butter should not be melted into the mixture and you should see pea sized bits of flour coated butter.
Step 2:
Drizzle the cold water on the flour mixture, about 1 tablespoon at a time, stirring after each addition. Stop adding water when the dough comes together easily and begins to form large, sticky clumps. Be sure not to add any more water than needed and keep the dough cold. Do not overwork the dough with your hands and make sure the butter does not melt into the dough. This will allow for a flaky pie crust.
Step 3:
Transfer the dough onto a lightly floured surface, into a thick disk shape. If the dough is too dry, dip your finger into cold water. If the dough is too sticky, sprinkle more flour and bring together.
Step 4:
Wrap each disk tightly in plastic wrap and r
efrigerate for at least 2 hours for up to 5 days.
Step 5:
While the dough is chilling, make the filling. Peel, core, and cut ¼-inch thick slices of apples and add into a large skillet.
Step 6:
Mix the apples with the sugar, flour, lemon juice, cinnamon, allspice, and nutmeg until thoroughly combined.
Step 7:
Cook the mixture over medium heat, stirring gently until the apples begin to soften. This should take about 5 minutes. The apples should now have a gooey coating created by the sugar and spices. (It is okay to use the apple filling even when it is still warm.)
Step 8:
Preheat the oven to 400 °F.
Step 9:
On a floured surface, roll out half of the chilled dough, keeping the other half in the fridge. Continue rolling the dough until it is ⅛-inch thick. With a 4-inch cookie cutter, cut out as many circles as you can. Continue rerolling the dough and cutting the circles out until you have used this half of the dough. Then, insert the circles into the mini pie/tart molds, making sure to cover the bottom and sides of the mold.
Step 10:
Spoon the apple filling into the crusts generously. Pile the apples high and tightly as they will reduce in the oven.
Step 11:
Remove the other half of the dough from the fridge and roll until it is ⅛-inch thick. Using a knife, cut out ¼-inch strips and create a lattice on top of the pies. Connect the lattice to the bottom
layer of the pie crust to form a seal between them. If you are running low on dough, use fun-shaped cookie cutters to cut out designs for the tops of the pies.
Step 12:
Lightly brush the top of the pie crust with egg wash. Optionally, you can sprinkle the top with coarse sugar.
Step 13:
Bake the pies in the middle rack of the oven for 15 minutes. After the minutes have passed, lower the temperature to 375°F for another 10-15 minutes, but do not remove the pies from the oven while doing so. They should be golden brown.
Step 14:
Allow to cool before removing the pies from the molds as they are very pliable right out of the oven. Then, enjoy!